くりくりさん’s comment on the Japanese blog inspired me to use CentOS7 on さくらのVPS. I began to use a free trial for two weeks on 18th.
Unfortunately, their service is only in Japanese and only for people who live in Japan. But, I think their service is well if you live in Japan. So, I’ll introduce how to register for it.
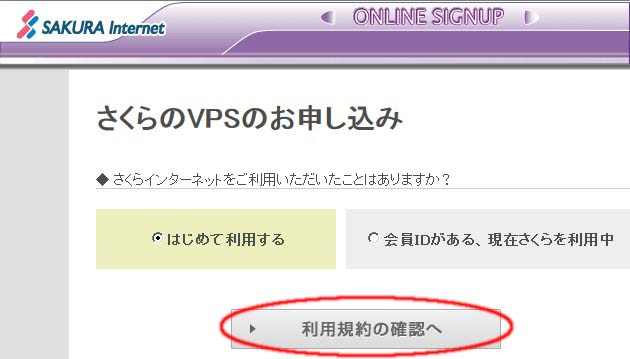
The page “さくら VPS のお申し込み” shows up. Click “利用規約の確認へ” (fig.2).
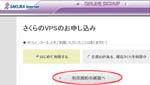
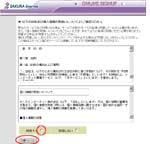
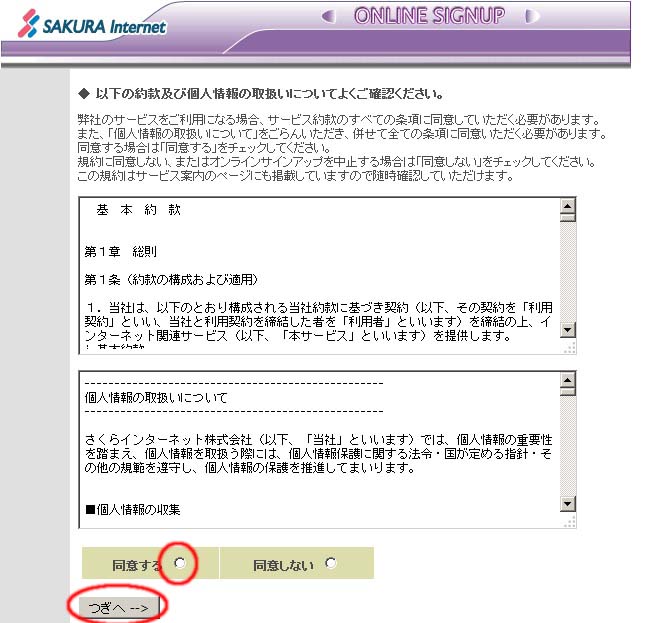
The page “以下の約款及び個人情報の取扱いについてよくご確認ください。” shows up. Print out “基本約款” and “個人情報の取扱いについて” and read them thoroughly. Check the radio button “同意する” and click “つぎへ –>” (fig.3).
The page “お客様の情報をご入力ください” shows up.fig.2 利用規約の確認へ
Complete the forms about followings on the page. (*) things are required.
fig.3 「約款」&「個人情報の取扱いについて」ご契約者名カナ(*): Contractant Name カナ(*):
生年月日(*): Birth Date(*):
性別(*): Sex(*):
郵便番号(*): Zip code(*):
ご住所(*): Prefecture(*):
街区名・番地等(*): Address…(*):
建物名等: Building:
電話番号(*):(※携帯可) (Mobile) Phone #(*):
FAX番号: FAX #:
Click “つぎへ –>”.
The page “会員メニューへログインするためのパスワードを指定してください” shows up.
パスワード: Pasword:
「ひみつ」の質問 : Secret Question: <--- Select from the pull-down menu or you can make an original question.
「ひみつ」の答え: Answer:
Click “つぎへ –>”.
The page “サービスプラン” shows up.
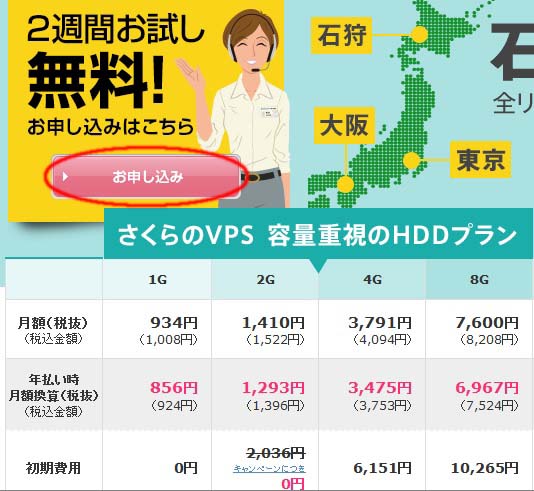
Select さくらのVPS 1G <--- If you use a free trial for two weeks.
Select a residence 石狩/東京/大阪
Click “つぎへ –>”.
The page “Payment” shows up.
Select 毎月払い/年払い monthly/yearly
There are several Payment Methods on the page but you can only use “クレジットカード (Credit Card)” if you use a free trial for two weeks.
There are some important notes on the page. Especially, the two written in red are very important. ・お申込から2週間後に自動で本登録になります。キャンセルの場合は、お客様にて行っていただく必要がございます。
・This temporary registration becomes a formally registration after 2 weeks from your application. If you want the cancellation within the trial period, you have to do it by yourself.
・会員メニューから「本登録」をするとキャンセルが行えなくなります。
・You can manually change the status of the registration from temporary to formally by your account menu. But if you did it, you lose your right about the cancellation even if your trial period doesn’t end.
Click “つぎへ –>”.
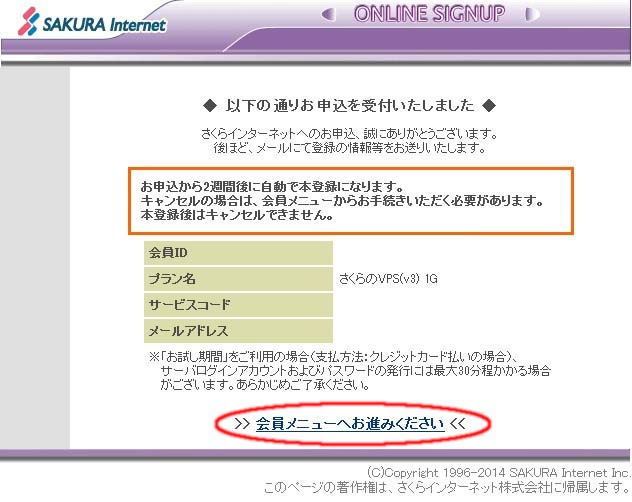
fig.4 以下の通りお申込を受付いたしました
The page “最終のご確認” shows up.
This is a confirmation page. Print it out if you need.
The page “以下の通りお申込を受付いたしました” shows up. The page gives you the followings.
会員ID User ID
プラン名 Service Name
サービスコード Service ID
メールアドレス E-mail
Click “会員メニューへお進みください” (fig.4).
Now you reach your account page. Logout. The temporary registration completely.
||How to log in VPS Control Panel||
Go to VPSコントロールパネル and log in.
You can find IPアドレス (IP address) and パスワード (Password) on the email “[さくらのVPS] 仮登録完了のお知らせ”.
パスワード変更 Chage password <--- This password is for VPSコントロールパネル.
||How to install CentOS7||
The default OS is CentOS6, but I want to use CentOS7. So I installed it from “OS再インストール”.
Go to “OS再インストール” and click “カスタムOSインストールへ”.
Select “CentOS 7 x86_64” from the drop-down menu and click “確認 (confirm)”.
Click “実行 (execute)”.
Click “HTML5モードで開く” within 60 seconds. QEMU pop-up in another window.
About instllation, see CentOS 7.
While the instillation you need to set up root-password and a normal user.
The instillation might take time. When it has finished, you have the message “Server disconnected…”. Buck to “VPSホーム” and boot the server (仮想サーバ操作:起動). The “ステータス (status)” is changed from “停止” to “稼働中”.
Now I have CentOS7 as VPS OS.
It was in trouble during the installation that the bottom of QEMU did not appear at all. So I had to handle “Reclaim space” and “Begin Installation” with my intuition and [TAB] and [ENTER] keys. Oops!