
Categories
I added the new links to the post “You can look inside!“.

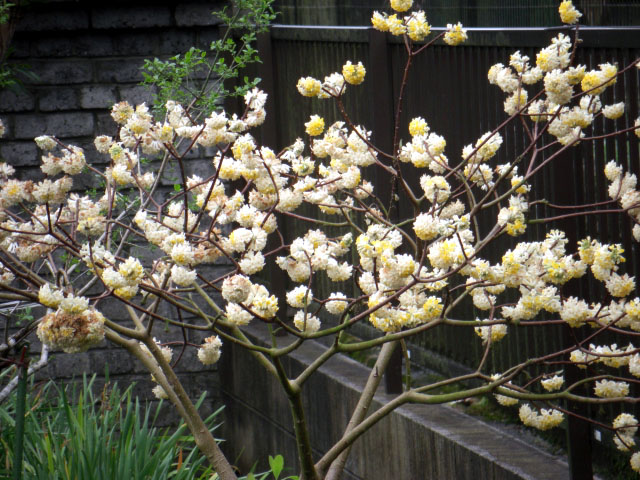
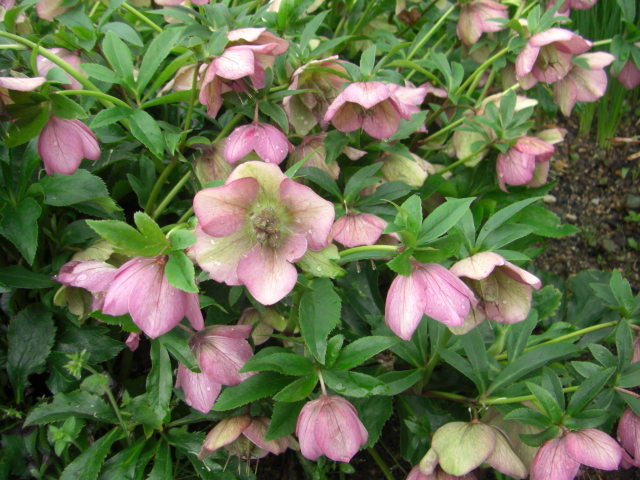
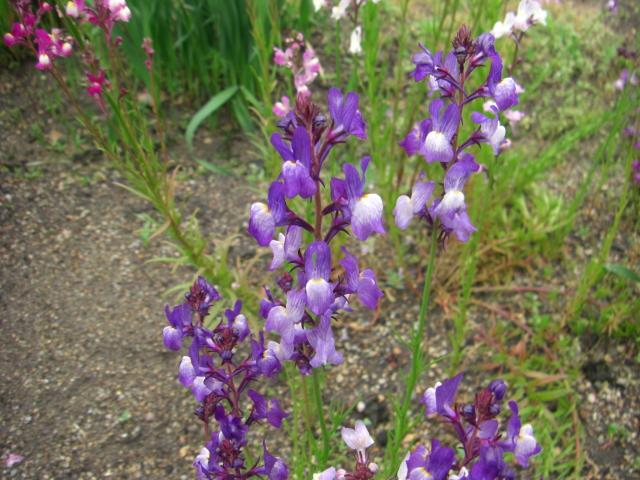
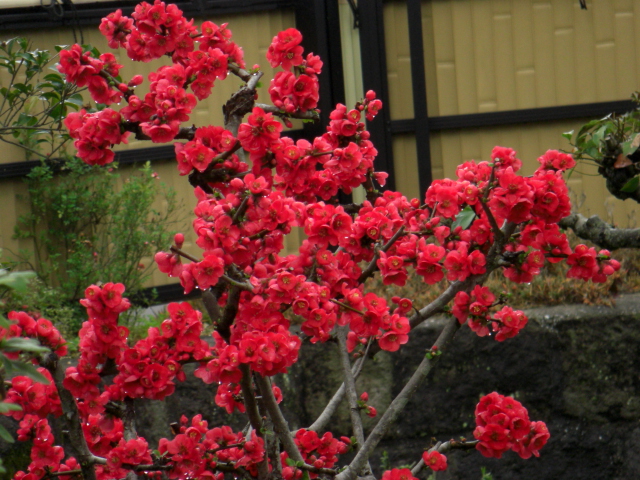
I also show you other photos of my garden flowers in the table.
 |
 |
 |
 |
 |
 |
 |
 |
 |
Apache HTTP Server 2.4.9 was released, and they did not release 2.4.8 because of an issue about OpenSSL area. So we’d better think 2.4.9 includes the changes with 2.4.8.
I downloaded httpd-2.4.9-win32-VC11.zip (16 Mar) from the ApacheLounge for my Windows7 server. If you need the information about Apache 2.4.x configuration on Windows, see my post ‘To create a Wamp-like Web Server in Windows7-#1.‘.
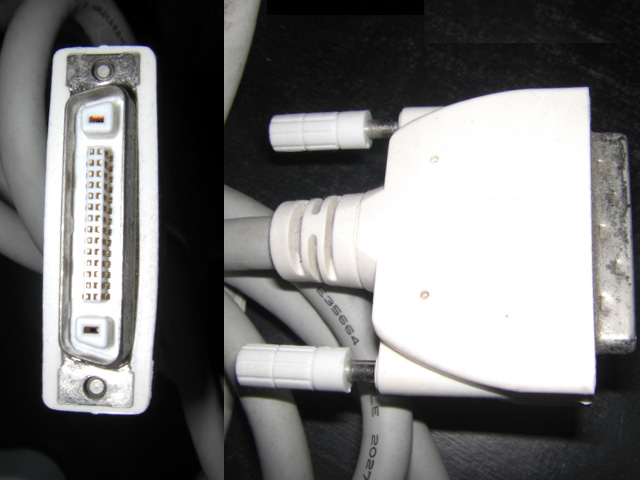
I have an FMVH70K7V and I got it as one of my uncle belongings. I used the PC as my web sever machine. It’s already broken but its display(VL-17VS2) is still alive. The display has very unique connector like the right image(Fig.1). Though I’d used the display to watch TV since Digital Terrestrial Television Broadcasting starting, I began to think I wanted it as a PC monitor after installing a Vista on the KeyPaso. At the time I couldn’t find any information about its pin assignment on the Internet.
However, on Jan. 2nd,
・ 「NEC F17W21」をDVI端子で使えるように改造する
・ ディスプレイケーブル変換アダプター配線図
and on Jan.3rd,
・NECのF17W11の専用デジタル接続端子(30 pin)を通常のDVI-Dデジタル端子に変換しましたのでその記録です。
I found out the pages above.
And KANさん told me the next two pages on the comment.
・ Fujitsu 30 pin Display to DVI(Japanese)
・ 富士通17インチ液晶モニタ(30ピンコネクタ)改造記録

They excited motivation in me but I got a cold after New Year holidays as you know, he-he. So my work about it began behind my plan. It was Jan. 16.
First I checked the cable of 30 pin connector by a circuit tester. Actually, the cable had 34 wires like as the left image(Fig.2), grrrr. To check the cable took more than one month, mainly my physical condition and probably to use a circuit tester was after a long time. Second I checked the DVI-D cable, which took only a day. Very short than to check the 30 pin connector.
When I was doing this, I talked to FHさん on his BBS. Here is the reprint(Japanese) of a part of his BBS related to my article, which appears his courtesy.
After the check, I got this as a result:
FUJITSU 30 pin display connector pin assignment (PC-side).

*** My Actual Work
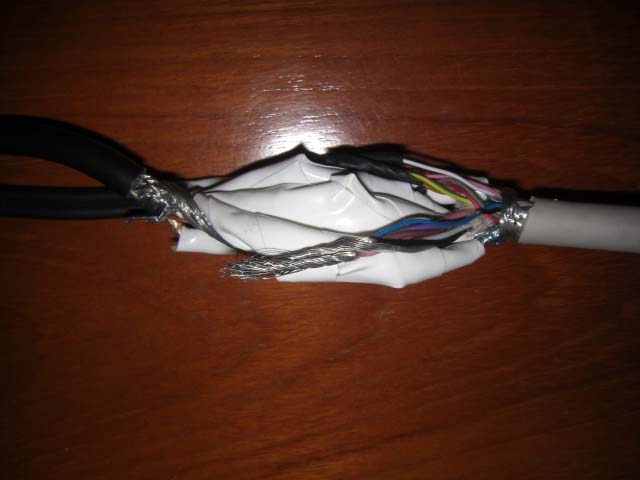
About the wires that have a metal shield originally, wrapped with a piece of aluminum foil for cooking and over-wrapped them in insulating tape(Fig.4).
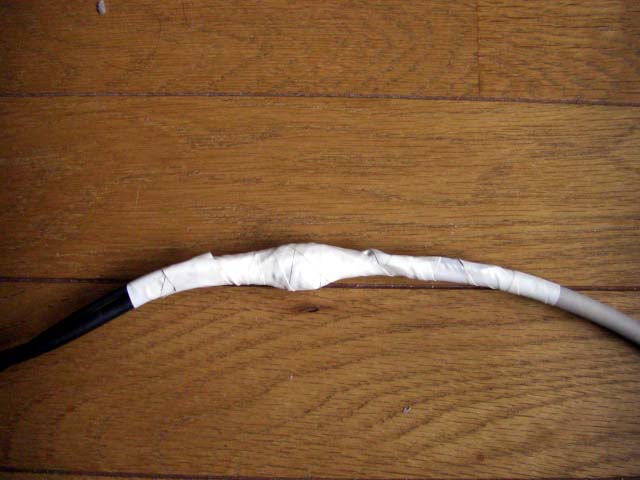
Wrapped all 34 wires and shield in insulating tape(Fig.5).
I have good images on the display.
Now, mission complete, I think. Buuuuuut, there is more to it (T_T).
Edit(Apr.7):
I forgot to write. I heard the cable with the display (VL-17VS2) is not straight. I checked the only PC-side assignment out, so it is not useful for you if you want to change the display-side connections.
Today, I updated to MariaDB 5.5.36 on Windows7HP+SP1(x86). Here is its Changelog.
First, I backed up all the sever data. Especially, MariaDB and MyDB.
Next, I updated to MariaDB 5.5.36.
That’s it.
Though I forgot to write because of hooked on WOFF, I updated to PHP5.5.10 on Mar. 10.
According to ChangeLog, this includes the fixes for CVE-2014-1943, CVE-2014-2270 and CVE-2013-7327.
The php.ini-production loses the next 31 lines. My server had nothing affected by them, though.
———————————————
; session.bug_compat_42
; Default Value: On
; Development Value: On
; Production Value: Off
———————————————
; session.bug_compat_warn
; Default Value: On
; Development Value: On
; Production Value: Off
———————————————
; PHP 4.2 and less have an undocumented feature/bug that allows you to
; to initialize a session variable in the global scope.
; PHP 4.3 and later will warn you, if this feature is used.
; You can disable the feature and the warning separately. At this time,
; the warning is only displayed, if bug_compat_42 is enabled. This feature
; introduces some serious security problems if not handled correctly. It’s
; recommended that you do not use this feature on production servers. But you
; should enable this on development servers and enable the warning as well. If you
; do not enable the feature on development servers, you won’t be warned when it’s
; used and debugging errors caused by this can be difficult to track down.
; Default Value: On
; Development Value: On
; Production Value: Off
; http://php.net/session.bug-compat-42
session.bug_compat_42 = Off
———————————————
; This setting controls whether or not you are warned by PHP when initializing a
; session value into the global space. session.bug_compat_42 must be enabled before
; these warnings can be issued by PHP. See the directive above for more information.
; Default Value: On
; Development Value: On
; Production Value: Off
; http://php.net/session.bug-compat-warn
session.bug_compat_warn = Off
———————————————
As the official PHP binary includes php5apache2_4.dll, I extract the zip archive and replace all PHP5.5.9 files with all PHP5.5.10 files except my php.ini. Then, I restart my Apache. That’s it.
If you need how to configure PHP5.5, please see the post. It is for a mbstrings user, but the information gives some help for you.
I use this opportunity to update to phpMyAdmin 4.1.9. If you need its configuration, see “phpMyAdmin 4.1.0 is released”.
 Continued from “To create a WOFF file from my own handwriting-#2.”.
Now, I have the ttf file(Untitled1.ttf) I want. First I’ll make a subset from the ttf file. Actually my ttf file only contains 31 glyph, nevertheless, the subset file is smaller than the original file. So, this work is worthwhile. Second, I’ll make a WOFF file.
You can find some sites which create WOFFs from ttfs. For example, Webfont Generator, ttf to woff converter, Font2Web, and so on. Some of them can convert full-size characters as well as half-size characters, others cannot. You are able to use command line tools like sfnt2woff. But I found a tool named WOFFコンバータ and can use it on Windows 2000/XP/Vista/7/8 and Mac OS X 10.6 or later. Besides, they distribute a subset font maker named サブセットフォントメーカー, which also works on Windows 2000/XP/Vista/7/8 and Mac OS X 10.6 or later. So, I’ll use it. I greatly appreciate their tools.
When this work ends, the tools give me next three files.
・Untitled1_sub.html
・Untitled1_sub.ttf
・Untitled1_sub.woff
If you open the Untitled1_sub.html by a text editor, you can find the css code you need.
In my case, I created the WOFF to use for the my Japanese blog Theme which is a child Theme of ‘Sugar and Spice’. So I added the css customization for its style.css. Here is my current style.css in the child Theme folder. Bold and italic parts are new additions. Of course, you have to upload the WOFF file to your server.
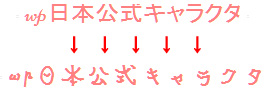
Then the Widget Titles on my Japanese blog have changed their design. See the top image of this post. The WOFF file size is only 10.8KB. Now I have satisfied my own ego trip ha-ha-ha.
Mission complete!! Clap, clap.
/*

 Theme Name:   J blog

 Theme URI:    http://webtuts.pl/themes/sugar-spice

 Description:  sugarspice Child Theme

 Author:       Aleksandra Laczek

 Author URI:   http://webtuts.pl

 Template:     sugar-and-spice

 Tags:         light, white, gray, two-columns, fixed-layout, responsive-layout,

 custom-background, custom-menu, featured-images, theme-options, threaded-comments,

 translation-ready, full-width-template

 Text Domain:  sugarspice-child

*/
@import url("../sugar-and-spice/style.css");
/* =Theme customization starts here

-------------------------------------------------------------- */

@font-face {

    font-family: 'MyFont';

    src: url('Exact URL to Untitled1_sub.woff') format('woff');

}
body {

    color: #000;

}
/* Typography */

h1, h2, h3, h4, h5, h6 {

    color: #000;

}
/* Calendar Widget */

 table th,

 table td{

    color: #000;

    background: transparent;

    border: none;

    text-align: left;

}
.widget-title em {

    font-family: 'MyFont';

    font-size: 26px;

    font-style: normal;

    padding-left: 3px;

}
/* 07. Forms & buttons

================================================== */

.button,

button,

input[type="submit"],

input[type="reset"],

input[type="button"] {

    color: #000;

}
/* #Forms */

input[type="text"],

input[type="search"],

input[type="password"],

input[type="email"],

textarea,

select {

    color: #000;

}
input[type="text"]:focus,

input[type="search"]:focus,

input[type="password"]:focus,

input[type="email"]:focus,

textarea:focus {

    color: #000;

}
label span,

legend span {

    color: #000;

}
Edit(Jul.17):
Hey guys, I have good news for you. Now, we can use FontForge for Windows with no pains. At this time, its version is 20-06-2014.
Continued from “To create a WOFF file from my own handwriting-#1.”.
Now, I can use FontForge. By the way, the fontforge_cygwin-20090914.tar.bz2 on my Windows8 Pro x86 is very unstable. But it works. FontForgeSetup_2012-07-31_Windows.exe didn’t work and fontforge-20090923-1.i386.rpm was more unstable than fontforge_cygwin-20090914.tar.bz2 on my system. There is no turning back. So, I use the fontforge_cygwin. See the edit. You can use FontForge for Windows.
I first write about creating a ttf file, but note the following points. To follow my procedure probably you have a ttf file and it possibly works. But I do not mention a lot of information to create a full ttf file. So if you want to make a decent ttf file, learn about it by yourself after my method confirmed. You can find more information on Tutorial.
**Step by step #2**
I have X in a large window.
[Note] I think you’d better make a working folder for your WOFF. The folder is named MyFont or something like that and placed in cygwinhome<username>. You save your Inkscape SVG files to the folder, which is convenient for your rest work.
At the first, I make “p” as a half-width character example. Double clicking on the green area. — Fig.4
I have another window. — Fig.5
I make “ン” as a full-width character example. When making a full-width character, use ‘View’ → ‘Goto’ feature because the finding character place is difficult. — Fig.16
The next post I will write how to make a subset file.
Hey guys, I have good news for you. Now, we can use FontForge for Windows with no pains. At this time, its version is 20-06-2014.

If your browser doesn’t support audio tags, download and listen!!
Edit:
One of my Japanese Blog visitors told me the name of the bird. It is a Shijūkara(四十雀). I’ve already seen it, I think. Now, my head is cleared. (^^)
Thanks a lot, りりさん.