Continued from my last post.
My Net Radio station runs with the following formation on Windows(x86), so I install Winamp and SHOUTcast Source DSP now.
| Winamp + DSP (Source) |
<> | DNAS [sc_serv] (Server) |
<> | Something like Players (Client) |
I’d forgotten to write it. DNAS is short for Distributed Network Audio Server and DSP is short for Digital Signal Processing.
| ||How to install Winamp|| | 1. Download | 2. Install | 5. Setting |
| ||How to install DSP|| | 3. Download | 4. Install | 5. Setting |
-
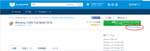
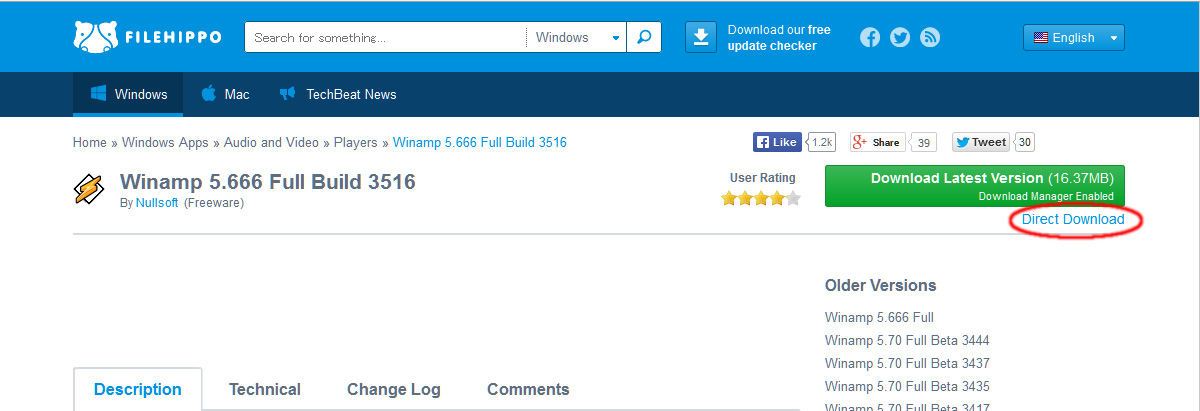
Winamp download Download the latest version of Winamp. Don’t click ‘Download latest version’ but ‘Direct Download’.
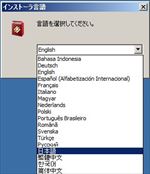
- Installing WinampSelect the language for the install navigation (See fig. Winamp install#1).
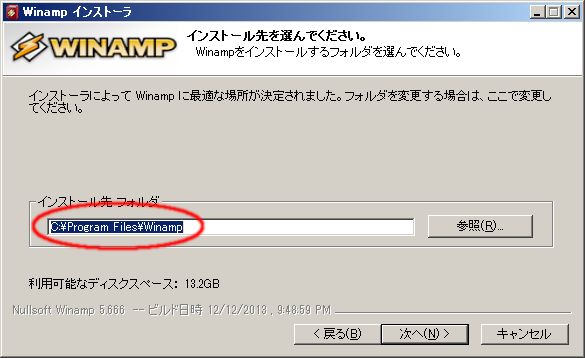
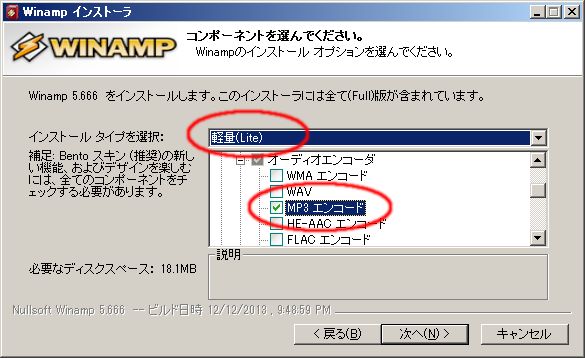
Install Winamp to the default location (See fig. Winamp install#4).Select the install type ‘Lite’ because of this Winamp used for SHOTcast source only and check ‘MP3 encoding’ which exists at Audio Encoders in Multimedia Engine (See fig. Winamp install#5). You can select the language for Winamp at this step if you need.
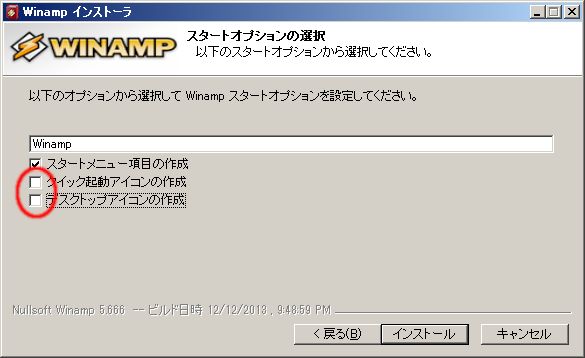
At Winamp install#6 I uncheck two options but it’s OK if you leave the default.
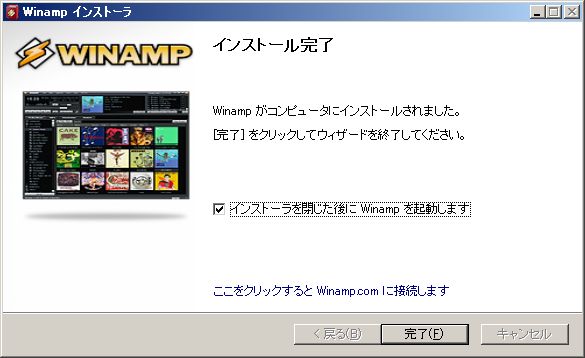
After Winamp install#8 Winamp runs. Close it.‘Control Panel’ >> ‘Administrative Tools’ >> ‘Windows Firewall with Advanced Security’
Select ‘Inbound Rules’.You see two rules about Winamp that has a private profile. One is for UDP and another is for TCP. I think they’re not necessary for SHOTcast source features so I delete them (See fig. Winamp install#9).
Winamp install#1 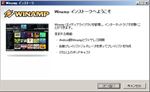
Winamp install#2 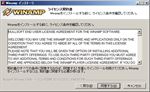
Winamp install#3 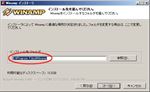
Winamp install#4 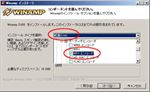
Winamp install#5 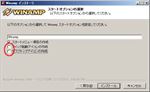
Winamp install#6 
Winamp install#7 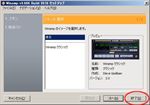
Winamp install#8 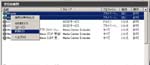
Winamp install#9 - Download SHOUTcast Source DSP (shoutcast-dsp-x-x-x-windows.exe) from the same location about SHOUTcast DNAS. Even if you want free version of SHOUTcast DNAS software, to download the files from the official site you need a personal data registration now, like this. (2016.Jun.1)
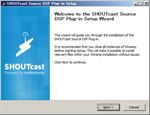
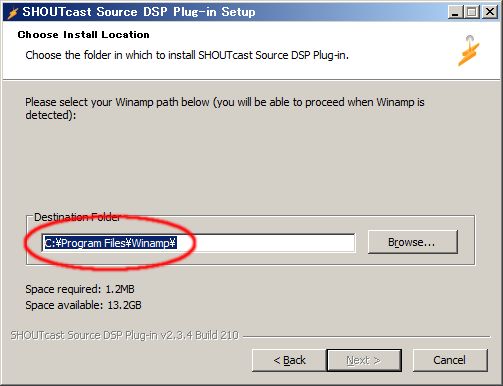
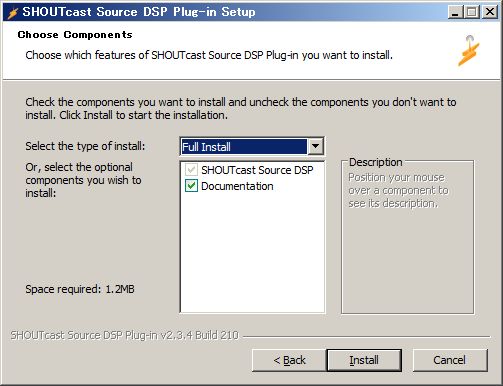
- SHOUTcast Source DSP install.Installing SHOUTcast Source DSP by the default. If you change the Winamp install folder, you have to install your SHOUTcast Source DSP into it.
DSP install#1 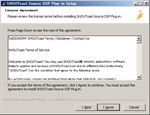
DSP install#2 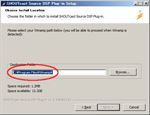
DSP install#3 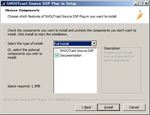
DSP install#4 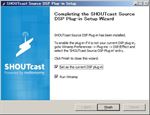
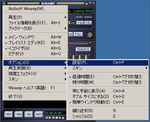
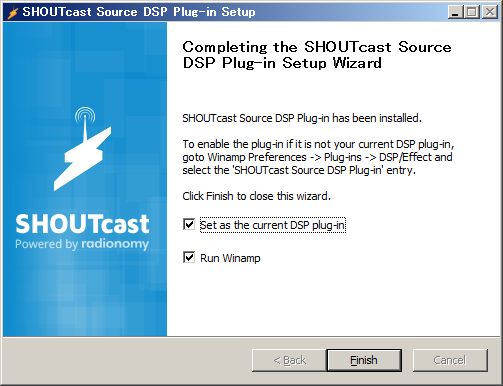
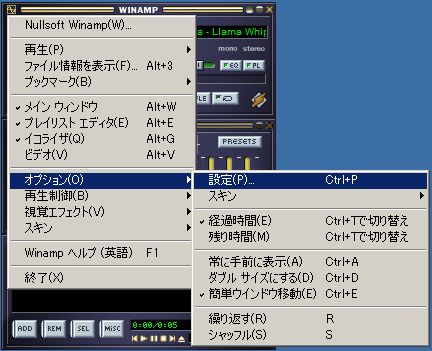
DSP install#5 - After ‘DSP install#5’ both Winamp and DSP run.Settings about Winamp itself, ‘Options’ >> ‘Preferences’ (See fig. DSP setting#1).
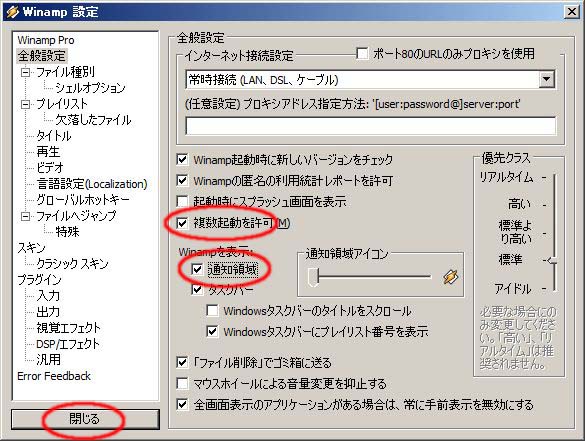
In General Preferences check ‘Allow multiple instances’ and ‘Notification area’. When ‘Allow multiple instances’ is checked, you can broadcast at least five streams by SHOUTcast Source DSP (See fig. DSP setting#2).
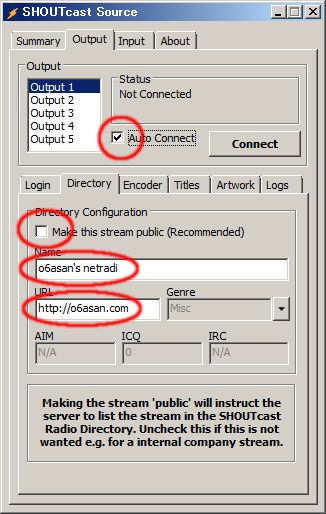
And then close ‘Preferences’.About SHOUTcast Source, set the password (= password in your sc_serv.conf) (See fig. DSP setting#3). Uncheck ‘Make this stream public’ because the current server is a private one. Change ‘Name’ and ‘URL’ to your own. Then check ‘Auto Connect’ or click ‘Connect’.
Now the preparation for the broadcast is completed. You make the Winamp play an audio, and the broadcasting will start.
DSP setting#1 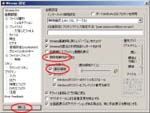
DSP setting#2 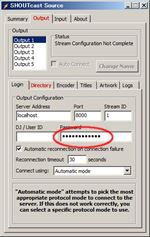
DSP setting#3 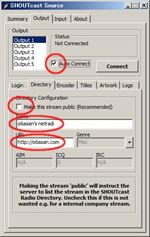
DSP setting#4


If you want to use the radio within your LAN only, you can already do it. But if you want to give your service to someone on the Internet and use a router or something, you’ll need to set them up. About it see your router manual or ask your network admin.
The next post I will write how to use the SHOUTcast radio.