I updated phpMyAdmin from 4.7.9 to 4.8.0 the day before yesterday. Although they wrote that ‘it is possible to install phpMyAdmin from our own Composer repository.’ on the official download page, I still uses the manually installation in my own way. After updating, I was surprised with a folder named tmp in my phpMyAdmin root directory. But it’s not a malicious but a proper one by phpMyAdmin.
After “MariaDB with Secure Connections.”, my SQL server has Secure Connections. Now I have to add some options to phpMyAdmin and WordPress settings.
Their versions are MariaDB 10.2.9 win 32-bit, phpMyAdmin 4.7.4 and WordPress 4.8.2 on Windows 7 32-bit HE SP1.
I’ve updated to phpMyAdmin4.6.6. After that, the new version gave me “OpenSSL error: error:0607A082:digital envelope routines:EVP_CIPHER_CTX_set_key_length:invalid key length” at HOME when I logged in.
This is maybe because of this 👉 $cfg[‘Servers’][$i][‘ssl_verify’].
The page says “Disabling the certificate verification defeats purpose of using SSL. This will make the connection vulnerable to man in the middle attacks.”, but my SQL server and phpMyAdmin don’t accept accesses from outside of NAT router and the user is only me. So, as my temporal workaround, I added the next line to my config.inc.php.
Actually, I failed once. My Web Browser status bar told ‘done’, but the progressing page showed only two lines. Besides, the update marker didn’t have gone. So I tried again and had ‘Another update is currently in progress’.
From ActivePerl-5.22.1.2201 to ActivePerl-5.24.0.2400.
Last time I installed ActivePerl-5.22.1.2201-MSWin32-x86-64int-299574.msi. But now they doesn’t provide an msi file. Then I tried to install ActivePerl-5.24.0.2400-MSWin32-x86-64int-300558.exe, but it gave me an error like the below.
Error 1723. There is a problem with this Windows Installer package. A DLL required for this install to complete could not be run. Contact your support personnel or package vendor. Action CheckInstallDir, entry: CheckInstallDirNoBox, library: C:UsersUserIDAppDataLocalTempMSIXXXX.tmp
As PHP7.0.3 was released, I updated to it the day before yesterday. Here is ChangeLog. My server OS is Windows7 HE SP1 x86, so I downloaded php-7.0.3-Win32-VC14-x86.zip.
The new php.ini-production doesn’t have difference from 7.0.2’s except some comments. If you need more information about php.ini configuration, see ‘Migrating from PHP 5.5.16 to PHP 5.6.0 on Windows’.
Being too busy with writing HTTP/2, I’ll also write about it, which is I moved to MariaDB 10.1.8. Not to update it. Besides, I found PHP5.6.15, phpMyAdmin4.5.1 and ActivePerl-5.20.2.2002 yesterday, so I took care of them all.
They released phpMyAdmin 4.5.0.0 on September 23, 4.5.0.1 on September 24 and 4.5.0.2 on September 25. What new releases in sequence! Ha-ha!! Here is the ChangeLogs. The 4.5.0.0 has a tons of improvements by RFE(Request for enhancement) or so. The 4.5.0.1 and 4.5.0.2 are bugfix versions.
They released phpMyAdmin 4.3.0 on December 5 and 4.3.1 on December 8. So I updated to 4.3.1 from 4.2.13.1 yesterday. Here is the ChangeLogs. The 4.3.0 has a tons of improvements by RFE(Request for enhancement). The 4.3.1 is a bugfix version.
By the way, when I compared the new config.sample.inc.php with my old one(=Ver.4.2.x), I found a line was lost and a line was added.
At /* Storage database and tables */ area
The lost line.
// $cfg[‘Servers’][$i][‘designer_coords’] = ‘pma__designer_coords’;
The added line.
// $cfg[‘Servers’][$i][‘central_columns’] = ‘pma__central_columns’;
4.3.1 alerts So, when I logged on the new phphmyadmin as root at the first time, I got “The phpMyAdmin configuration storage is not completely configured, some extended features have been deactivated. Find out why. Or alternately go to ‘Operations’ tab of any database to set up it there”.
By clicking ‘Find out why’, I got the alerts like the right image.
I had instructions, too.
Quick steps to setup advanced features:
Create the needed tables with the ./examples/create_tables.sql.
Create a pma user and give access to these tables.
Enable advanced features in configuration file (config.inc.php), for example by starting
from config.sample.inc.php.
Re-login to phpMyAdmin to load the updated configuration file.
I did the followings.
Log on the new version with the old config.inc.php as root.
Add the ALTER privilege to the controluser(Default : pma) on the database phpmyadmin.
Import the new create_tables.sql. If you change the database name(Default : phpmyadmin) and the controluser name(Default : pma), you need to customize the sql file before import. See “Configuration storage“.
Log out.
Edit the old config.inc.php.
Delete the line.
$cfg[‘Servers’][$i][‘designer_coords’] = ‘pma__designer_coords’;
Add the line.
$cfg[‘Servers’][$i][‘central_columns’] = ‘pma__central_columns’;
Yesterday, they announced Hayabusa 2 Launch rescheduled again. The new schedule for it is at 13:22:04 on December 3(JST). I hope good weather which makes third time lucky aha.
I’ll create a LAMP server on CentOS7 with SELinux enforcing in VPS.
But before this, I did the three four things.
$ sudo vi /etc/pam.d/su
Then, uncomment the next line. #auth required pam_wheel.so use_uid –>> auth required pam_wheel.so use_uid
Now the OS permits for only the users in Wheel Group can become root by ‘su’ command.
$ sudo vi /etc/aliases
Then, uncomment the last line of the file and change the user name. #root: marc –>> root: centos
$ sudo newaliases
By this, the user centos can get root’s mail.
Check up on the time zone.
$ sudo timedatectl status
Everything is OK.
$ sudo systemctl status chronyd.service
I had “System clock wrong by 1.088336 seconds, adjustment started” in the result, so I edited /etc/chrony.conf.
$ sudo vi /etc/chrony.conf
In the file I found “# Use public servers from the pool.ntp.org project.”, and I went to pool.ntp.org. I added the lines with ‘+’ at their head and deleted ‘-’s by the instructions.
+server 0.pool.ntp.org iburst
+server 1.pool.ntp.org iburst
+server 2.pool.ntp.org iburst
+server 3.pool.ntp.org iburst
–server 0.centos.pool.ntp.org iburst
–server 1.centos.pool.ntp.org iburst
–server 2.centos.pool.ntp.org iburst
–server 3.centos.pool.ntp.org iburst
Then, restart the service and check again.
$ sudo systemctl restart chronyd.service
$ sudo systemctl status chronyd.service
Now everything is OK.
Note) The location of exstra.conf files: /etc/httpd/conf.d
The extra conf files by default: autoindex.conf, userdir.conf, welcome.conf
Note2) The location of module.conf files: /etc/httpd/conf.modules.d/
Note3) I do not rotate log files but the Apache Httpd seems to be able to make it automatically (See /var/log/httpd/ after more than one-day server running). From when can it do this?? Or is this CentOS7’s own feature?
Usually ~userid has the permission 700, but it needs 701 for httpd accessibility. This information on the userdir.conf.
$ chmod 701 centos
I set the DocumentRoot to an user’s home directory, so I need to tell it to SELinux and to allow httpd to access User Home Directory. This information is on httpd_selinux(8). However, when I tried to read it, CentOS7 said it’s empty, oops!!
See online httpd_selinux(8).
$ sudo setsebool -P httpd_enable_homedirs on
$ sudo systemctl start httpd.service
I had the error message “Job for httpd.service failed. See ‘systemctl status httpd.service’ and ‘journalctl -xn’ for details.” when I first started httpd.service. Because I forgot to create ‘www’ and ‘html’ directories. So I made them as the user centos.
[centos@localhost ~]$ mkdir www
[centos@localhost ~]$ cd www
[centos@localhost www]$ mkdir html
Check the directories context.
$ ls -Z
drwxrwxr-x. test test unconfined_u:object_r:httpd_user_content_t:s0 www
$ ls -Z
drwxrwxr-x. test test unconfined_u:object_r:httpd_user_content_t:s0 html
$ sudo systemctl start httpd.service again.
$ sudo firewall-cmd --permanent --zone=public --add-service=http Httpd Testing page$ sudo firewall-cmd --reload
$ sudo systemctl enable httpd.service
Note4) Each Well-Known-Port seems to be set by default. So you don’t need firewall-cmd command for port 80.
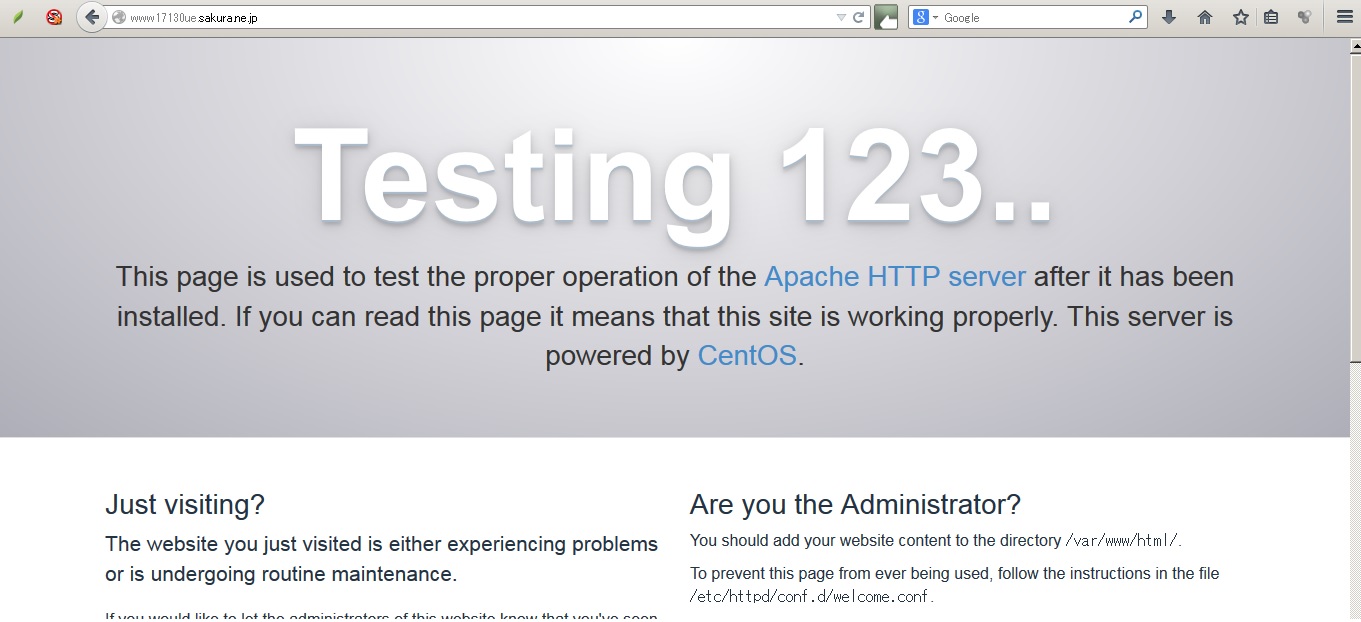
Access http://VPS_DomainName/. You can see a page like the right image.
||Install MariaDB||
$ sudo yum install mariadb-server mariadb
The installed version is mariadb.x86_64 1:5.5.40-1.el7_0 & mariadb-server.x86_64 1:5.5.40-1.el7_0.
$ sudo systemctl start mariadb
$ sudo mysql_secure_installation Enter current password for root (enter for none): <<-- Hit [Enter] key.
Set root password? [Y/n] <<-- Hit [Enter] key.
New password: <<-- Type a password for root.
Re-enter new password: <<-- Type the password again.
Hit [Enter] key for each question below ⇩.
Remove anonymous users? [Y/n] Disallow root login remotely? [Y/n] Remove test database and access to it? [Y/n] Reload privilege tables now? [Y/n]
$ sudo systemctl enable mariadb.service
||Install PHP||
$ sudo yum install php php-mysql php-mbstring
The installed version is php.x86_64 5.4.16-23.el7_0.3 , php-mbstring.x86_64 5.4.16-23.el7_0.3 & php-mysql.x86_64 5.4.16-23.el7_0.3.
At the instllation, the php.conf is created in /etc/httpd/conf.d automatically.
Edit /etc/php.ini.
$ sudo vi /etc/php.ini
Show line numbers by ‘:set nu’.
line# 243: output_buffering = 4096 –>> output_buffering = Off
Note5) The location of additional.ini files: /etc/php.d
The additional ini files by default: curl.ini, fileinfo.ini, json.ini, mbstring.ini, mysql.ini, mysqli.ini, pdo.ini, pdo_mysql.ini, pdo_sqlite.ini, phar.ini, sqlite3.ini, zip.ini
$ sudo systemctl restart httpd.service
||Install phpMyAdmin||
I need phpMyAdmin he-he. However I could not find it among the three repositories, base, extras and updates. So, I added ‘epel’.
$ sudo yum install epel-release
$ sudo yum install phpmyadmin
The installed version is phpMyAdmin.noarch 4.2.11-1.el7.
At the instllation, the phpMyAdmin.conf is created in /etc/httpd/conf.d automatically.
Edit /etc/httpd/conf.d/phpMyAdmin.conf
$ sudo vi /etc/httpd/conf.d/phpMyAdmin.conf
Here is my phpMyAdmin.conf. See below. # phpMyAdmin - Web based MySQL browser written in php # # Allows only localhost by default # # But allowing phpMyAdmin to anyone other than localhost should be considered # dangerous unless properly secured by SSL
Alias /phpMyAdmin /usr/share/phpMyAdmin Alias /phpmyadmin /usr/share/phpMyAdmin
$ sudo setsebool -P ftp_home_dir on
Because I uncomment local_enable=YES. This information is on the vsftpd.conf.
$ sudo vi /etc/vsftpd/chroot_list
I added ‘admin’ to the chroot_list.
When I made “chroot_~” uncommented and an access via FTP as a normal user, I had 500 OOPS: vsftpd: refusing to run with writable root inside chroot(), so I added allow_writeable_chroot=YES to the vsftpd.conf. This information I found on 500 OOPS: vsftpd: refusing to run with writable root inside chroot() Login failed on debian.
line# 104: –>> allow_writeable_chroot=YES